Sunday 2 September 2012

Victory for the Great Lakes Brewery

This summer the Great Lakes Brewery released a few speciality beers to the LCBO in celebration of their 25th anniversary. One of them was a Belgian Saison, a beer that we tried at the Hart House Craft Beer Festival, enjoyed and consequently picked up from the LCBO when it was making it out to the stores.

Late in August Great Lakes tweeted this. Next trip to the LCBO we came across one of the prized bottles and picked it up. When it came time to tweet a picture of it, we decided to have a little bit of fun and here are the results:


"In this corner wearing the red shorts and the golden cap, a north american belgian and the reigning champion... the GLB 25th Anniversary SAAAAIIIIISSSSOOOONNNNN!!!"


"Floats like a butterfly, stings like a bee"

"Ohh took him by surprise!! Look at that upper-cut!!"

"GLB follows it up with a right hook. That generic beer doesn't stand a chance"

"He is down for the count... 3... 2... 1..."

"And still undefeated, the champion is ... "

"GREAT LAKES BREWERY'S 25th ANNIVERSARY SAISION!!!!!"

Friday 31 August 2012

Peachy Keen Jellybean

Earlier this year at the start of spring something amazing was brewing at Cameron's Brewery. A recipe that had first started as an experimental beer for Bar Volo's 2011 IPA challenge was now being prepared for the mass consumer market. This particular fruity, citrusy, peppery delight was a unique twist on the mass of IPAs that are seem to be available just about everywhere you look. The secret to their success? A common yet underestimated grain: Rye. The RPA, as it was officially named, was a great awakening to a grain that previously seemed fit only in delicious sandwiches.

IPAs were becoming quite common and after bludgeoning our taste buds with hops, hops and more hops it was a time for change. Coincidentally this was around the time that Bellwoods Brewery was opening up in Toronto, a new brewery that didn't disclose much at first except for their amazing brand and markering campaign and left us dreaming about the giant red bell. The intrigue was too much to bear and soon after it opened we went down to the brew-pub to find out whats been in the tanks. Belgian style beers are their particular specialty and with Stella Artois being the only Belgian beer of prominence that we knew of, this brewery literally blew our minds. Saison, Farmhouse Ales, and other Belgian styles against the IPAs being all the rage these days a brewery like Bellwoods was destined for success.

Raspberry, a summer fruit, was our first attempt at fermentation last year. As you might already know this did not work out as expected. This year feeling wiser, and admittedly older, we attempted a raspberry wheat beer which turned out to be surprisingly successful. "If it ain't broke, don't fix it" we said to ourselves. Yet .. repetition is boring. And the essence of summer  being something scared and special for us Canadians that will experience anywhere from seven to nine months of winter was something we wanted to encapsulate in a bottle to enjoy for a prolonged period of time. For variation and to be seasonally appropriate we turned to Ontario peaches that were readily available at the time. The sweet, smooth, silky taste of peaches were already being included in meals and snacks. Why not extend this experience?

When you combine three good things together one can only assume that the results will be three times as good! Thats just plain math working for us. So with that logic in mind we came up with our next recipe: our peach rye saison.

Cue the peaches.


We have decided that the recipes for our brew will now live on github. Please feel free to log issues, suggestions and comments against our Peach Rye Saison.


Wednesday 29 August 2012

The long road to TBW 2012: Homebrew Competition

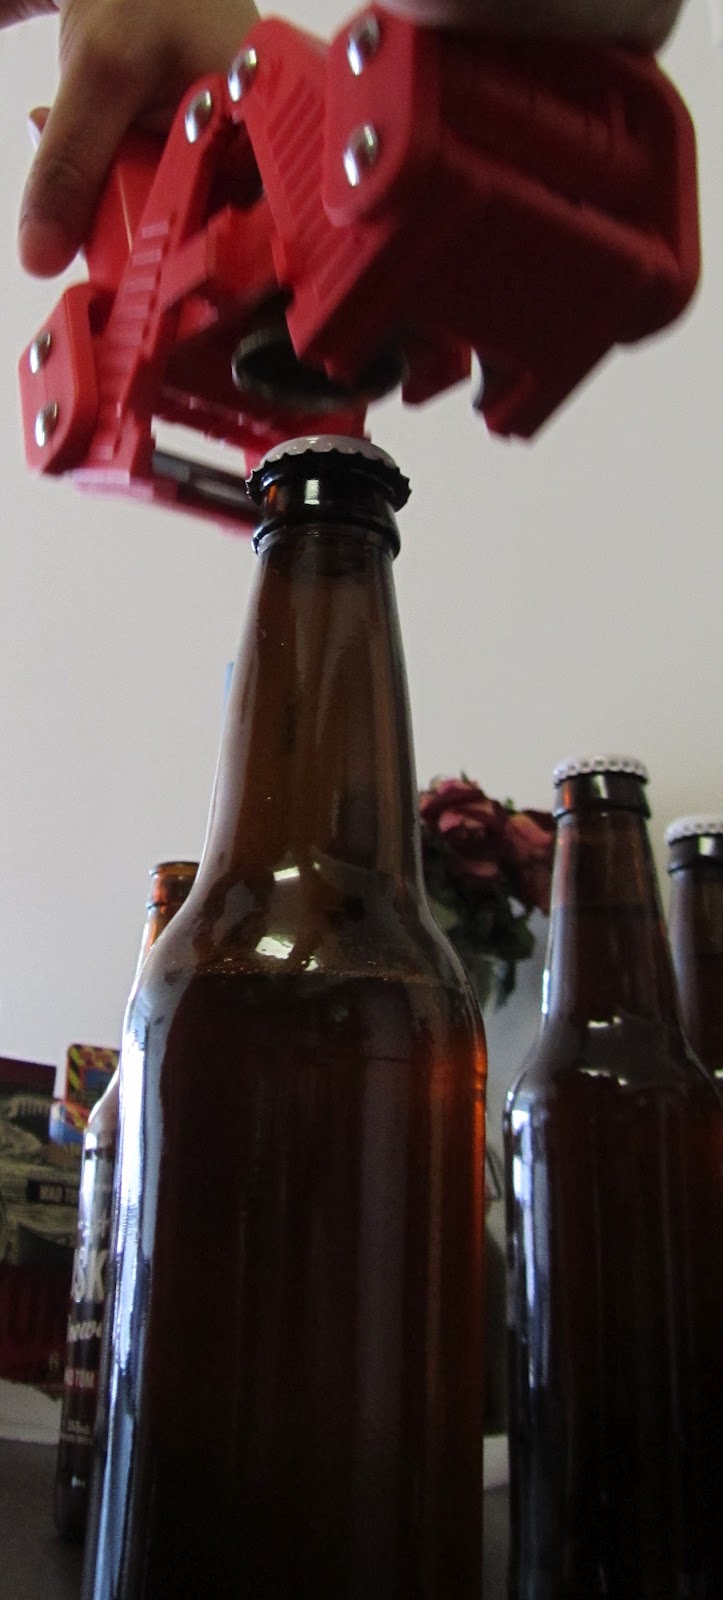
We pull the plain dark brown bottle from the fridge, its only distinguishing mark is a decorated bottle cap. The anticipation rises as we cradle the bottle fondly for a moment to recall its short lifetime. It has been five weeks in the making -- three in the primary, one of which was spent dry-hopping, and two conditioning within the bottle. Now is the moment of truth. The silence is broken by the satisfying hiss as the cap is pried off and we let out our breath.

The homebrew competition as part of Toronto Beer Week (TBW) first came to our attention last year. At the time we had just started our adventures in brewing with our first mead. Realizing that mead takes about a year to complete, and according to one person we'll need to wait five years before it becomes really great, we switched our focus to beer. The faster turn around time meant more experimentation and more confidence with the process. Although we didn't have any brews for TBW 2011, we made a resolution to work on a recipe to enter the following year.

We carefully pour out the freshly opened beer into the official tasting glass. As we raise it to our nose to take the initial whiff we recall our last two brews. We wanted to experiment and deviate from our methodological process of crafting our recipe. Neither of those brews satisfied on first sampling. One showed improvement after a month of conditioning, the other initially described as tasting like "battery acid" degraded a bit with age. Our current beer was the redeemer, a competition worthy brew. These thoughts dance in our mind as we bring our nose to the glass. We flare our nostrils and inhale deeply to give ourselves a bold first impression.

A couple of other homebrew competitions deadlines passed us by during the summer. We were either unprepared with a brew or too embarrassed with our current beers. Luckily, our decision to return back to our original recipe coincided with the announcement of the TBW homebrew competition. Without debate we organized our next brew day to craft the redeemer. A week later we found ourselves brewing again to mark the first anniversary of our fermenting adventures. We were cutting things close, so although we had high hopes for our anniversary brew, it would not be ready by the competition cut off.

A familiar explosion of stale yeast enters our nose and our heart sinks. The redeemer fell far short of its anticipation and the competition deadline was a day away. Defeated we take a timid sip from the glass, with our hope rising with the glass to our lips. Maybe the taste will come through and the aroma will fade over time. The beer splashes onto our tongue where we let it linger for a brief moment, aware of the slight prickling of carbonation, before gulping it down. We smack our lips and click our tongues as we concentrate on the flavours and evaluate the beer. A bitter slurry of stale yeast. Our last thread of hope has been cut.

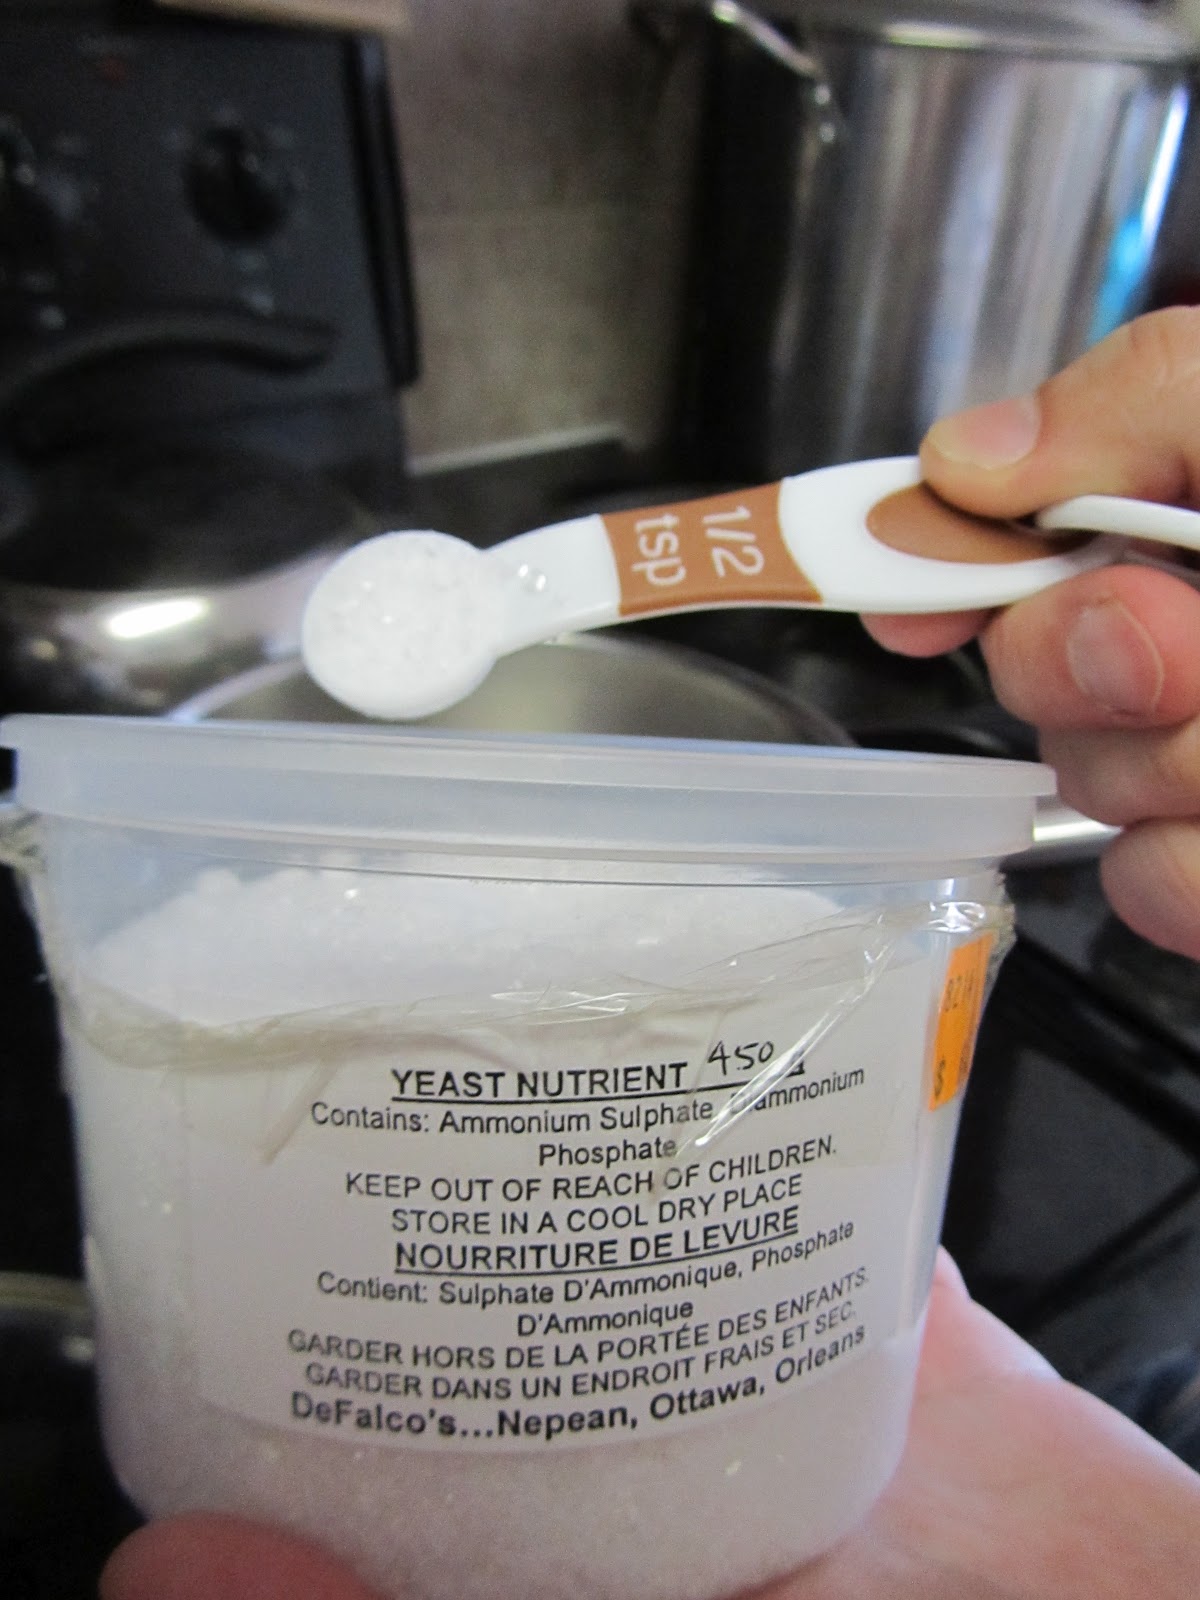
We got over our disappointment and resolved to enter the beer into the competition and hopefully the comment cards will help improve our brews. We already had one improvement in mind: change up the yeast. We have been unhappy with the yeast we were using from its lack-luster performance in the airlock to the yeasty taste of the resulting beer. We had a good experience using a different yeast for our anniversary brew and we resolve to upgrade from the bargain basement brands of yeast. Our prospects looked good.

Defeated we log into the homebrew competition to enter our entry's details. Something catches our eye on the website and it seems a bit off. We read it again, and then once more. Each time our heart beats a bit faster and our spirits are lifted. The submission deadline is extended and not by only a few days but by more than a full month. That is enough time to brew again. Our minds start racing to crunch the numbers -- a week to ferment, dry hopping for a week and a half, condition for ten days. We can make it! Time to order better yeast and schedule the next brew day. The Phoenix will rise and our anticipation begins to swell again.

We are going to have two entries in this year's TBW homebrew competition: our anniversary raspberry wheat and our current graffiti alley that has a couple more days of dry hopping before we bottle it later this week. We are happy with our raspberry and our hopes are high for the graffiti alley. Both of them could use improvement and we look forward to the judges' comment cards. Things are looking up and its almost time to start thinking about TBW 2013.

Sunday 8 July 2012

First Anniversary Raspberry Wheat

On a hot, sunny day a year ago we made our annual trip out of the city to the country side for some berry picking. This was late July, a bit late in the season for the delicious raspberries we sought. In the course of many hours of walking up and down rows of barren plants, under the intense stare of a radiant sun, we managed to pick a modest basketful of berries. Heading home exhausted we debated what our hard-earned berries should become: jam, eaten fresh or frozen for a rainy day. Or maybe become wine.

Another annual trip of ours is to head down to Niagra-on-the-lake for a weekend and tour the wineries. There is a wonderful, small winery there that we never miss because they specialize in an unusual type of wine. They have peach wines, blueberry wines, black and red currant wines, cherry wines, or any wine made out of a typical Ontario fruit. They have a raspberry wine that we love.

We had been talking about creating our own wine for a couple of months and had done a bit of research. We placed an order at a a brew-on-premise store and quizzed them to get a feel for what the operation involved. At the time this was still just idle dreaming. But now we had a basketful of raspberries and the dream seemed tangible. We just needed to take the plunge.

A week later, on another beautiful summer afternoon, we were on the streetcar heading to the east end of the city. We had tracked down a store that sold the necessary equipment for brewing at home, instead of the typical brew-on-premise places that dot the city. Eager with excitement we headed to an unfamiliar part of the city to pickup unfamiliar equipment from an unfamiliar type of store. We were giddy.

We arrived home with our supplies and started to get to work. We washed the raspberries, sterilized them and placed them in our fermenter with yeast. Then we waited. And waited. And waited. Nothing happened and we added more yeast. And waited. Nothing. We declared it a flop, but instead of giving up on our dreams we turned our focus towards mead-making, which we had researched while we waited for the wine to take off. Mead was our next batch, and along with our dreams, it took off with amazing success.

This past weekend we trekked out again to the country side to pick raspberries. We went earlier in the season and our crop was plentiful. To celebrate the first anniversary of our homebrewing experiment we present this raspberry wheat recipe using the freshly picked berries.

Ingredients
  • 15 Liters Toronto tap water
  • 1/2 pounds Caramel 40L malt 
  • 1.5 ounces Czech saaz hop
  • 4 pounds Briess Bavarian Wheat Dry Malt Extract (DME)
  •  4.5 pounds fresh Ontario raspberries
  • 1.5 teaspoons pectin enzyme
  • 1 Wyeast Belgian wheat Activator yeast package
Directions
  1. In a large stock pot bring 15 liters of Toronto tap water to 70 degrees Celsius.
  2. Activate the yeast package and set aside.
  3. While the water is coming up to temperature, measure out 1/2 pounds of Caramel 40L malt and crush it using a rolling pin. Place the crushed malt into a hop bag and set aside.
  4. Measure out two quantities of Czech saaz hops: 1oz and 0.5oz. Place the hops into a hop bag and set aside.
  5. Once the water has reached 70 degrees Celsius add the crush malt and steep for 30 minutes. Carefully monitor the temperature to keep it as close to 70 degrees as possible.
  6. While the malt is steeping, measure 1.5 pounds of raspberries. Wash them, place them into a hop bag and set them aside.
  7. After 30 minutes of steeping the malt, remove it from the pot and bring the wort to a boil.
  8. Once the wort has reach a boil add the hop bag with 1oz of the Czech saaz hops.
  9. After 30 minutes add the 4 pounds of DME and mix thoroughly to remove any clumps that form.
  10. After 15 minutes add  the hop bag with 0.5 oz of the Czech saaz hops.
  11. After 5 minutes add the hop bag with 1.5 pounds of raspberries. Also add 1.5 teaspoons of pectin enzyme.
  12. After 10 minutes remove the wort from the heat and place into a cold water bath. Cool the wort down to 30 degrees Celsius while vigorously mixing it to re-oxygenate.
  13. Once the wort has reach 30 degrres Celsius, take a hydrometer test and add it to the fermenter. Add the activated yeast package and let it ferment for 2 weeks.
  14. After 2 weeks, rack the beer onto 3 pounds of crushed raspberries and let it sit for a week.
Notes
  • Original Gravity: 1.050 
  • We encountered many warnings about not adding the raspberries to the boil. Aside from pectin haze we were unable to get a reason why this should be avoided. To avoid the pectin problem we added the enzymes along with the berries.
  • The 3 pounds of raspberries we will be racking onto have been temporarily placed in the freezer until the appropriate time.

Tuesday 26 June 2012

Back to first principles

Our last two batches have been fun experiments with mixing up a hop cocktail and adding some fruit rinds to our beers. They have largely been recipes created to fullfill the need to experiment and break out of the methodic progression of our Graffiti Pale Ale. Although they are still drinkable beers, we believe they have been a step backwards in the direction that we were headed. Now it is time to get back on course to perfecting the perfect Pale Ale.

However, all of this experimentation was not wasted because there were two things discovered that we would like to continue: dry hopping and increased carbonation. In the last few batches we dry hopped by adding the hops into the fermenter just before we added the yeast. This created a hoppy aroma to the final beer, however it might be better to add the hops a few weeks after the yeast because some of the aroma is lost during the initial vigorous fermentation. We also increased the amount of priming sugar before bottling and this has resulted in a much better head to the beer and a crisper taste.

Our next batch will evolve from the last Graffiti Pale Ale, but with the addition of dry hopping and increasing the carbonation. It is time to return to first principles, and change only a few variables, in our effort to create an amazing beer.

Ingredients
  • 1/2 oz Irish moss
  • 1/2 pounds of Caramel 40L malt
  • 4 pounds Briess golden light dry malt extract (DME)
  • 15 liters Toronto tap water
  • 4oz Cascade hop pellets
  • 6g Morgan's ale yeast
Directions
  1. Hydrate 1/2 oz of Irish moss in some water.
  2. In a large stock pot bring 15 liters of water to 70 degrees Celsius
  3. While the water is coming up to temperature measure out 1/2 pound of caramel malt. Place the malt into a ziplock bag and crush it using a rolling pin. Place the crushed grain into a hop bag and set aside.
  4. Measure out 3 quantities of Cascade hops: 1oz, 1oz and 1oz. Place the hops into a hop bag and set aside. Note that we will be re-using the hop bag used by the caramel malt for the final hop addition.
  5. Once the water has reach 70 degrees Celsius add the hop bag containing the caramel malt. Steep the grain for 30 minutes and watch the temperature to keep it as close to 70 degrees as possible.
  6. After steeping for 30 minutes remove the crushed caramel malt and place into a bowl. The malt will have absorbed some of the water that will drain into the bowl. This water can be added to the pot while it is boiling.
  7. Bring the water to a boil.
  8. Once the water has reached a boil add a hop bag with 1oz of Cascade hops to it.
  9. After 30 minutes add the 4 pounds of DME.
  10. After 15 minutes add a hop bag with 1 oz of Cascade hops.
  11. After 10 minutes add a hop bag with 1 oz of Cascade hops. Also add the 1/2oz of hydrated Irish moss.
  12. After 5 minutes remove the stock pot from the heat and place into a cold water bath. Cool the wort down to 25 degrees Celsius as fast as possible. While cooling mix the wort to add oxygen to the wort.
  13. Once the wort has reach 25 degrees Celsius pour it into the fermenter and add the yeast.
  14. Let the wort ferment for 2 weeks.
  15. After 2 weeks place a hop bag with 1 oz of hops. Let the beer dry hop for 1 week before bottling.
Notes:
  • Original Gravity: 1.046 

Wednesday 20 June 2012

Hop Garden Update

This is a small update on the progress of our hop garden. We are growing one hop plant inside a downtown Toronto apartment and two other hops plants at our farm out in Kingston. Here is their progress so far:

The downtown hop plant had grown quite a bit in 32 days. However, I noticed that the growth had started diminishing for about a week so I decided to grab some fertilizer. Growth continued after a sprinkling of Miracle Gro Shake 'n Feed. There were also a few insects hanging around the pot so I laid out some fly paper. Now 38 days after planting, the growth has continued.


The hops being grown at the farm took a little longer to sprout. We are growing both Fuggles and Cascade hops there and this is them peaking out 18 days after being planted.
Even though they took a while to get started, they look like they are growing fast. Here they are 5 days later, or 23 days since planting.

Stay tune for more updates on the hop garden!

Saturday 2 June 2012

Homegrown Hops

Three weeks ago I eagerly drove up to Brampton because the hop rhizomes I had ordered through Homebrew Supplies had arrived.  In general terms, a rhizome is a cutting from a plant's root system that can be planted separately to form a new plant.

left: Fuggles rhizome right: Two Casacade rhizomes

I left the store with my 3 rhizomes in hand, two Cascade and one Fuggles, and then headed over to Canadian Tire to pick up some planting equipment. Since I had ordered organic rhizomes, I decided to follow through and grab an 18L bag of organic potting soil. I also grabbed a giant pot to use as a planter for one of them. The other two were destined for our farm in Kingston.

Cascade hop destined for this planter

Once home I picked out the prime rhizome to be planted in my apartment. I placed the other two in my fridge to store until  we had a chance to head up to the farm. After filling the pot up with the organic soil, I used my hand to dig a small hole that was about half a hand length deep. I place the rhizome in and covered it up, watered it thoroughly and placed it by my window.

Planter with hand dug hole containing the rhizome.
Rhizome all cover and ready to grow!

It only took about four days before the hops were poking out of the soil and by a week later their growth has been phenomenal. I am really excited to see their progress!

Hop plant about two weeks since planting
Throughout the course of the summer we will be documenting growing our hops in two very different settings: A downtown apartment grown within a pot and out in the country grown in the ground. It will be interesting to see how they progress differently between these two settings. Finally, we will hopefully celebrate the harvest by brewing up a vintage brew!


Wednesday 16 May 2012

Grapefruit Graffiti Great Pale Ale

About a month ago we headed out to Bar Volo to enjoy a glass of a Barrel Aged Sour IPA created by Cameron's. We have always enjoyed a nice IPA and recently we have started to explore the world of sour beers.


It all started when we were in San Francisco this past winter and we visited a great beer bar called Zeitgeist. After chatting with our very knowledgeable bartender we decided to follow his advice and finish the evening with a sour beer. We were blown away with its distinctive taste, and although not something you'd drink pint after pint, it was definitely a style to seek out. In fact, we have inquired about sour beers at some local bars around town.


About a month ago we also noticed a new offering at the LCOB: Panil, a sour beer from Italy. We instantly picked up a bottle with fond memories of the sour we had in SF. Unfortunately we were a bit disappointed with this offering and had this been our only sampling of this style we would have likely given up on sours. Fortunately, memories of the SF beer still lingered and so when we saw the Barrel Aged Sour IPA on offering at Bar Volo, we immediately set out on our quest.

The Barrel Aged Sour IPA did not disappointed. There was a lot going on in the glass that we ordered and all of it was good. However, after about halfway through the glass the taste started to hone in onto something very specific: Grapefruit.

A friend of ours, whose taste in beer we really respect, is always pushing IPAs with a fruit undertone. He has mentioned peach and grapefruit as being excellent flavours of an IPA. With his tastes in mind and our excellent experience with the Barrel Aged Sour IPA, we propose the Grapefruit Graffiti GPA.

Ingredients
  • 1 pound Cara Aroma malt
  • 6 pounds Briess Amber Dry Malt Extract (DME)
  • 20 Liters of Toronto tap water
  • 3.5 oz Columbus hop pellets
  • 5.5 oz Cascade hop pellets
  • 1 oz Irish moss
  • 6 grams Morgan's Ale Yeast
  • Rind of 1 grapefruit
Directions
  1. In a large stock pot bring 13 liters of water up to 70 degrees Celsius.
  2. While the water is coming up to temperature crush the Cara Aroma grains using a rolling pin and place it into a hop bag.
  3. Steep the hop bag full of crushed Cara Aroma in the stock pot for 30 minutes once it has reached 70 degrees Celsius.
  4. After 30 minutes remove the Cara Aroma malt from the pot and raise the temperature to bring the wort to a boil.
  5. Once the pot has reached a boil add 0.7 oz Columbus hop and 0.3 oz Cascade hop (in a hop bag).
  6. After 30 minutes add 3 pounds of the DME.
  7. After 15 minutes add 0.6 oz Columbus hop and 1.4 oz Cascade hop (in a hop bag)
  8. After 10 minutes add  0.3 oz Columbus hop and 0.7 oz Cascade hop (in a hop bag). Also add 0.5 oz Irish moss and half of the grapefruit rind.
  9. After 5 minutes remove the pot from the heat and place in a cold water bath.
  10. Once the wort has reach below 27 degrees Celsius pour the wort into the primary fermenter.
  11. Fill the pot with 7 liters of water and bring to a boil.
  12. Once it has reached a boil add 0.7 oz Columbus hop and 0.3 oz Cascade hop (in a hop bag).
  13. After 30 minutes add 3 pounds of the DME.
  14. After 15 minutes add 0.6 oz Columbus hop and 1.4 oz Cascade hop (in a hop bag)
  15. After 10 minutes add 0.3 oz Columbus hop and 0.7 Cascade hop (in a hop bag). Also add 0.5 oz Irish moss and the rest of the grapefruit rind.
  16. After 5 minutes remove the pot from the head and place in a cold water bath.
  17. Once the wort has reach 25 degrees Celsius pour the wort into the fermenter. Mixed all of the wort in the fermenter together vigorously.
  18. Take a hydrometer test of the wort in the fermenter.
  19. Add the yeast and 0.7 oz Cascade and 0.3 oz Columbus hops (in a hop bag) to dry hop the beer.
  20. Seal the fermenter.

Thursday 10 May 2012

Let There Be Hops!


It all started with our trip to California in December of 2011. While touring around The Golden State we paid a visit to a BevMo! and to our beer-loving Canadian eyes for a few moments it felt like we were in heaven. Drinks as far as the eye could see, prices so low that it hurt to look directly at them and THE SELECTION! Mind-blowing!

Their beer selection in particular was quite astounding. We probably spent around 30 mins just looking around at that store until we finally bought something, carefully selected, to bring back with us. These were four bottles of beer, single-hopped and identically brewed except for the type of hop that was used.

These beers were getting us excited and finally we got together with some friends last month and tried them out. It was intended to be a learning experience so we would get an idea of the type of flavor, bitterness and aroma each hops contributes to. We did some learning and a lot of drinking.

With the fresh taste of different hops in our mouth we decided to have another brew day at our urban brewery. Our last few attempts at an IPA had been pretty calculated. We had a single hop that we were working with and each time we would try to narrow down what was missing, make a small change and see the results.

This time we laughed in the face of the Scientific Method and went in very brave and bold direction. This was primarily inspired by our hop-tasting night and the availability of two new hops at the homebrew supply store: Fuggle and Columbus

Ingredients
  • 1 pound Caramel 40L malt
  • 4 pounds Briess golden light DME
  • 2 pounds Briess pilsen light DME
  • 1pound Briess amber DME
  • 23 liters Toronto tap water
  • 3 oz fuggle hop pellets
  • 3 oz cascade hop pellets
  • 3 oz columbus hop pellets
  • 1 oz Irish moss
  • 7 grams Cooper's ale yeast.
All our supplies
Directions
  1. In a large stock pot bring 15 liters of water to 70 degrees Celsius.


  2. While the water is coming up to temperature, measure out the Caramel malt and crush it with a rolling pin. Place the crushed grain into a hop bag and set aside.
  3. Add the hop bag with the crushed Caramel into the stock pot once the water has reached 70 degrees Celsius. Let the malt steep in the pot for 30 minutes and watch the temperature to keep it close to 70 degrees.


  4. After 30 minutes remove the Caramel and bring the wort to a boil.
  5. Once the stock pot has reached a boil add 0.9 oz Columbus hop, 0.45 oz cascade hop and 0.15 oz fuggle hop.
  6. After 30 minutes add all of the DME to the stock pot.
  7. After 15 minutes add 0.45 oz Columbus hop, 0.60 oz cascade hop and 0.45 oz fuggle hop.
  8. After 10 minutes add 0.15 oz Columbus hop, 0.45 oz cascade hop and 0.9 oz fuggle hop. Also add 1 oz Irish moss.


  9. After 5 minutes remove the stock pot from the heat and place in an ice water bath to cool down.
  10. Once the wort has dropped below 27 degrees Celsius pour it into the fermenter.
  11. Add 8 liters of water to the stock pot and bring it to a boil
  12. Once the water has reached a boil add 1 oz Columbus hop, 0.45 oz cascade hop and 0.1 oz fuggle hop. Set aside 0.15 oz Columbus hop, 0.45 oz cascade hop and 0.9 oz fuggle hop that will be used for dry-hopping.
  13. After 15 minutes add the remaining hops to the boiling water.
  14. After 15 minutes remove the stock pot from the heat and place into a cold water bath.
  15. Once the water is around 25 degrees Celsius add to the wort in the primary fermenter. Stir together everything together.
  16. Take a hydrometer test.
  17. Add the hops set aside for dry hopping and yeast. Seal the fermenter.

    Notes
  • Original gravity: 1.061
  • There was some issue with scale so the hop measurements are most likely not accurate.

Thursday 15 March 2012

Vanilla Fig Mead

We had a couple of empty growlers from the Niagara College teaching brewery and some left over honey after starting our apple mead. Naturally this can only mean that its time for a small batch of mead! This time we are going to expirement with a vanilla-fig flavour combination.

Ingredients
Directions
  1. Place the honey into a hot water bath so that it will be easier to pour.
  2. Bring 1.5 liters of water to a boil, and let it boil for 5 minutes.
  3. Add 1/2 teaspoon yeast nutrient to the boiled water.
  4. Add 1/2 teaspoon acid blend to the boiled water.
  5. Pour the honey into the boiled water and mix thoroughly to create the must.
  6. Place the must into a cold water bath to cool it down.
  7. Take a hydrometer reading.
  8. Pour the must into the fermenter and pitch the yeast.
  9. Top off the fermenter with water (boiled and cooled), and then place the airlock on top.
Notes
  • Original gravity: 1.030. This value is low because the sample was taken from the top of the must and after cooling it down a lot of the honey settled to the bottom.
  • Once the main fermentation is complete in about a month, we will transfer the mead into a secondary along with some vanilla and figs.

Sunday 26 February 2012

Graffiti Alley Bottled!

We are extremely excited about our latest batch of Graffiti Alley that we bottled today. It is a beautiful golden colour with a very satisfying bitter structure layered on top of a wonderful, delicate malty profile. In a word: Amazing! Our move from using amber malts to pilsen seems to have been in the right direction. However, the beer will still undergo some more changes for the next couple of weeks as it carbonates in the bottle. We can only sit back and wait with anticipation until we can crack open that first bottle and taste the final result.

Ingredients
  • 1 cup Toronto tap water.
  • 60 grams corn sugar.
Directions
  1. Bring 1 cup of tap water to a boil and add 60 grams of corn sugar. Boil them together for 5 minutes.
  2. Take a hydrometer reading of the final beer.
  3. Fill the siphon with the sugar water and add any remaining into the bottling bucket. Siphon from the fermenter to the bottling bucket.
  4. Fill the bottles and cap them. The bottles will need to be stores at room temperature for at least 2 weeks to properly carbonate.
Notes
  • Final gravity: 1.008 (~5.8% ABV)
  • Quantity made: 27 x 355ml (9.59 liters)
  • We opened up a bottle of Muskoka Brewery Mad Tom IPA, one of our favourite beers, to do a side by side comparison. Since Mad Tom has been dried hopped, it has a much richer up front hop aroma. This is definitely something we'll attempt in a future batch. Surprisingly our beer lost most of its bitterness and had a light sweet taste when sampled after Muskoka's brew.